Merge and validate the records
Use your data-merge application to create the personalized PDF. Check record count, missing fields, duplicate identifiers and text overflow before export.
Prepare personalized tickets, labels and mailers for the finishing table. Complete your data merge, check the resulting PDF, then use PDFImpose to arrange the records for printing and cutting.
 A little planning.
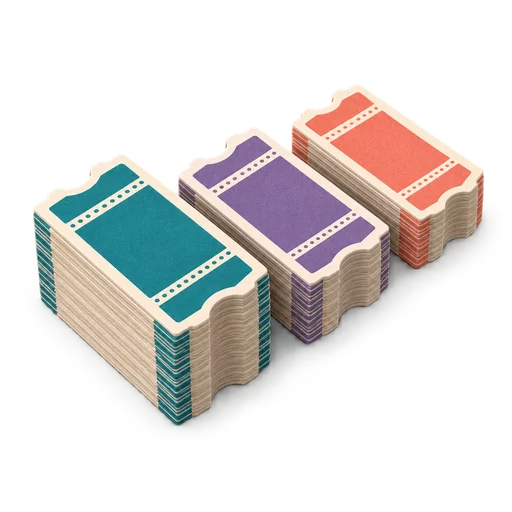
3 sheets · 4 stacks after cutting
Variable data printing changes content such as names, identifiers or addresses between copies of a design. A data merge produces the personalized artwork; imposition places that artwork onto sheets. This workflow uses PDFImpose for an already merged PDF. It does not promise spreadsheet merging or barcode generation in the current app.
Understand the layout, check the details, then take your file into PDFImpose.
Use your data-merge application to create the personalized PDF. Check record count, missing fields, duplicate identifiers and text overflow before export.
For a simple ticket job, supply one finished ticket per PDF page. Choose a grid or cut-and-stack layout according to the required delivery order.
Check first and last records, transitions between cut piles and any front/back pairs. Test codes from a printed sample with the intended scanner.
Keep the data-row count, merged-page count and finished-item count together. Each should match the structure of the job.
Keep the data-row count, merged-page count and finished-item count together. Each should match the structure of the job.
Arrange unique pages so their identifiers remain in the required sequence when sheets become separate pieces.
Fix content or data in the merge stage, and fix sheet geometry in the imposition stage. Review both outputs before the run.
Assume one unique, single-sided ticket per merged PDF page and one copy of each record. The grid contains four ticket positions.
WORKED EXAMPLE| Checkpoint | Expected result | Why it matters |
|---|---|---|
| Data records | 250 | One row for each ticket |
| Merged PDF | 250 pages | One page for each record |
| Printed sheets | ceiling(250 ÷ 4) = 63 | 252 available positions |
| Unused positions | 252 − 250 = 2 | Identify these in the cut plan |
| Finished ticket count | 250 | Reconcile with the source data |
For two-page records, 250 records produce 500 source pages; that does not mean 500 tickets. Use a duplex layout that keeps each record's front and back together, and recalculate from the physical ticket structure.
Work through the essentials for this workflow.
Your checklist stays on this page.
0 of 6 checks complete
Impose a merged PDFA CSV/XLSX-to-PDF mail merge workflow printers accept: font embedding, bleed, one-record-per-page vs. imposed output, and failures that get files rejected.
Read the guide FIELD NOTE / 02How to build numbered raffle tickets as a PDF with matching ticket/stub numbers, correct padding, a perforation line, and sequential cut-and-stack order.
Read the guide FIELD NOTE / 03A practical, definition-first guide to variable data printing: how the merge works, common use cases, and file-prep rules that keep VDP jobs press-ready.
Read the guideThe practical details, explained plainly.
This page covers the preparation and imposition workflow. The linked PDFImpose workflow starts with a merged PDF; use a data-merge application to combine your spreadsheet and design first.
No. A ticket may use one page, a two-sided mailer may use two, and a personalized booklet may use many. Define the record structure before choosing page order or calculating sheet counts.
Use a simple grid when sheet reading order is enough. Use cut-and-stack when the finished pieces must form consecutive piles after cutting. Multi-page records also need correct page and side pairing.
No. A printed code carries data. Validity, duplicate detection and check-in behaviour depend on the system that reads it. Test the actual payload and scan a printed sample.
Inspect the first and last record, long or unusual values, records with optional fields missing and transitions between cut piles. Use those cases to find problems that a single attractive sample would miss.
For the underlying print and PDF concepts:
Bring a completed, checked data-merged PDF into PDFImpose for sheet layout and cutting order.
Create the merge in a suitable personalization tool first. Check missing fields, long names, matching ticket stubs and record boundaries before imposition.
Prepare the data before imposition →
Google sign-in is required. The free plan includes five lifetime exports, with eight hours between free exports. Pro is US$14.99/month or US$149.99/year, excluding tax.
View current PDFImpose plans →
This is a product-operated field guide in the PDFImpose network. Confirm the exported result and current terms before paying.
Bring your verified personalized PDF into PDFImpose and choose the arrangement its printing and finishing need.
Impose a merged PDF